Showing posts with label precise. Show all posts

Friday, December 2, 2022

Boat Cushion Upholstery


Salon Bench Back Before B&W

This is one of ten cushions I reupholstered for a powerboat. At left is the “before” photo, the largest cushion of the bunch, measuring at 48” x 18”. I didn’t feel it was necessary to include all the cushions, but wanted to share how I reupholstered them.

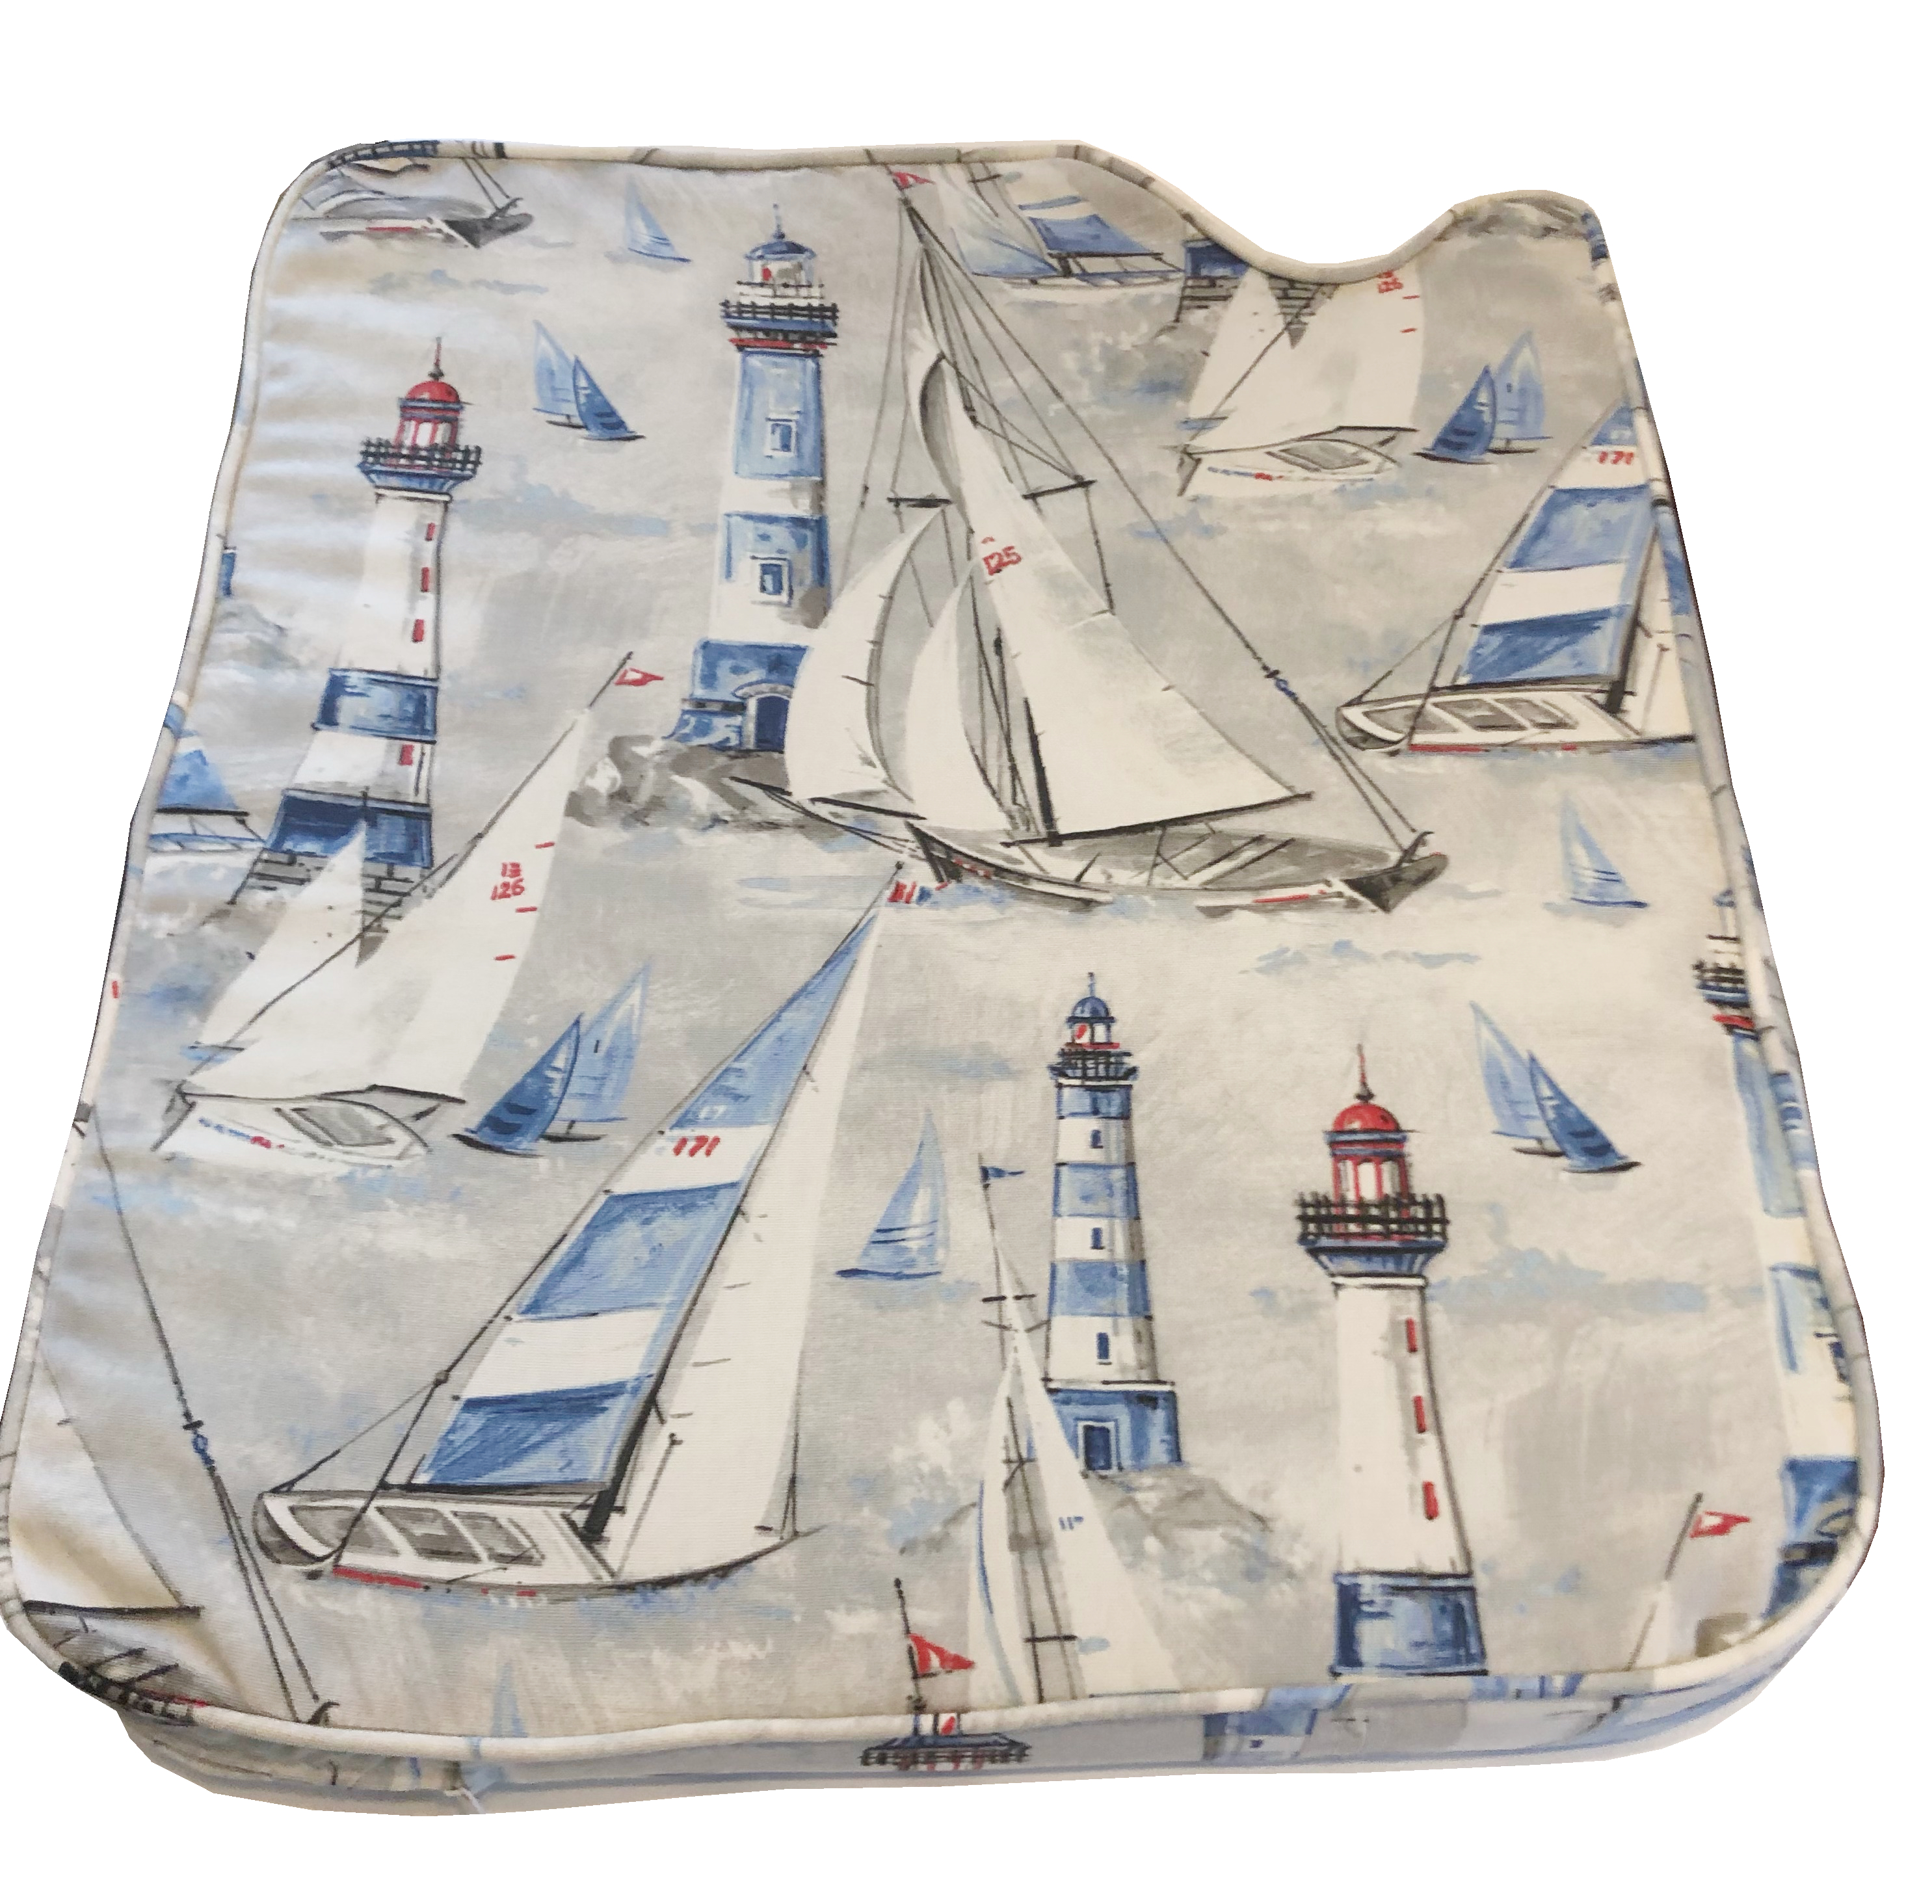
Salon Bench After with Navy Fabric
These cushions, like many boat cushions, were split into two sections which run horizontally through
the center, as shown above in the original black and white cushion. This is where it is split. This process allows the manufacturer to use two different fabrics, but it also allows the fabric to be attached to the curve of the back without compromising structure. 

These two fabrics are sewn together at the center seam. The first step is to make sure both sections sewn together fits the cushion’s curve properly. It should line up with the outer edge of the cushion. Then a vinyl or leather “tab” is sewn right on top of both seams. I used vinyl I had remaining from a previous job and measured a 4-1/2” x 43” section to stitch to the fabric. This is what gets pulled downward and attached to the cushion’s base. (These cushions were attached to a thick acrylic base instead of wood and were heavy, but not too bad to work with).

Once you establish the fabric size is correct, put your fabric panel onto the top half of the cushion, stretching it over the top and back, then add a few temporary staples to the underside to keep the fabric from shifting. After you’ve added a few staples, you can staple the center leather or vinyl “tab,” while carefully pulling the fabric over the cushion on the top, easing it in position. Staple the upper sides to keep it from shifting. You can add more staples later and may have to remove the temporary ones to finalize its place. 

After the center tab has been completely stapled and secured, you can carefully pull the bottom portion of the fabric over the foam and continue to stretch and position it so it is as smooth as you can get it, attaching it with staples as you go. I have found that putting a few staples in strategic places allows you to keep adjusting the material until it is exactly where you want it, then you can complete the stapling process until everything is nice and snug. The slight puckering seen in the “after” photo will straighten itself out once the cushion it hung from its place on the boat. This is fine as the fabric needs a little bit of stretch to get it in position.

Underside of Cushion
showing tab stapling
My customer chose a lovely navy blue from Sunbrella®, perfect for boat cushions or outdoor patio seats. This fabric is mildew resistant and great for marine use. She opted for all cushions to be the same color instead of the two colors as it was originally. 

The cushions turned out great and surprisingly, the last two cushions I did, as shown on the one above, were the easiest ones of the bunch. Probably because by that time I picked up a few shortcuts from the previous cushions. Sewing cushions is not for the faint-hearted, as they require precise measuring, cutting and a lot of detailed sewing, but with patience and determination, this mission too, can be accomplished.


Sunday, July 31, 2022

Boat Interior Cushions Reupholstered

Boat Cushions After
 
Boat Cushions Before
This was my first opportunity to do interior boat cushions. This project involved fifteen (15) cushions for a 32’ sailboat. The original Spartan fabric was quite dated, like popular in the 1970’s or 1980’s but had seen better days and was ready for something different. 

My customer had wanted sailboat fabric to replace the plaid and chose a very cool fabric with various sizes of sailboats on it on a white background, featuring red, white and blue overall. The fabric was a dream to work with and the cushions turned out great.

Unlike standard cushions, these sailboat cushions were quite challenging because they were not only different shapes, meaning some were wide on one end and narrow on the other end, they also took the shape of the sailboat’s interior with angled sides. This required a very detailed, concise cutting, following the pattern pieces which I created by using the original fabric, very closely. I had developed a system in which I completely removed each old cushion fabric, separated all the pieces then used those for templates to create the new cushion covers. This is one way to insure the new cushions would fit. The other way is the create your own templates by carefully measuring each cushion and making a pattern from material specifically used for pattern making which can be purchased. 

I did this for each cushion, completing it before I tackled the next one. This project took me about 3 weeks to finish. It was a challenging job to be sure but I was very happy with the outcome and more importantly, so was my customer.

Seat Cushion Before
Seat Cushion After
The two cushions below were the one on the end of the corner area (shown above). The curve on this cushion went about a pole on the side of the boat, so this cushion had to be cut to accommodate this curve.  This cushion required the foam to be replaced as it was moldy and quite worn. I use a combination of foam cutting tools to make these cuts, an essential part of working with foam.

Long Galley Cushion After

Long Galley Cushion Before
The long cushion was one of the more difficult cushions I made because it was 77” long and 15” on the narrow side and 24” on the wider side. This cushion was also angled on one end so that its shape is consistent with the natural curve of the boat. The smallest cushions were 17 x 12 and the larger ones varied from 77” x 15 x 24 to 56” x 24”. 

The various sizes of these cushions required a lot of attention to detail as well as measuring many times. I also devised a foolproof way to make sure the pattern faced the right direction when cutting. I marked the original cushion with lots of black markers showing arrows to the top, bottom and zippered edge, which helped a great deal when the time came to put those pieces together. I then transferred these marks to the new fabric with indelible ink, that comes off with an iron or over a period of time on its own. These pens, called “Frixion," are one of my favorite tools for sewing! 

By the time I got to the 15th and last cushion, it was a breeze, but I was ready for a break as it was quite the job. I’m so happy to have had the opportunity to add this to my skill set and afterward had gotten a few more cushion jobs (which aren’t posted here) because they were loose cushions with no “before” photos. It’s great when you learn the tricks as you continue to process of upholstery and sewing. It helps to serve you long into the future.