|
| Boat Cushions After |
 |
| Boat Cushions Before |
This was my first opportunity to do interior boat cushions. This project involved fifteen (15) cushions for a 32’ sailboat. The original Spartan fabric was quite dated, like popular in the 1970’s or 1980’s but had seen better days and was ready for something different.
My customer had wanted sailboat fabric to replace the plaid and chose a very cool fabric with various sizes of sailboats on it on a white background, featuring red, white and blue overall. The fabric was a dream to work with and the cushions turned out great.
Unlike standard cushions, these sailboat cushions were quite challenging because they were not only different shapes, meaning some were wide on one end and narrow on the other end, they also took the shape of the sailboat’s interior with angled sides. This required a very detailed, concise cutting, following the pattern pieces which I created by using the original fabric, very closely. I had developed a system in which I completely removed each old cushion fabric, separated all the pieces then used those for templates to create the new cushion covers. This is one way to insure the new cushions would fit. The other way is the create your own templates by carefully measuring each cushion and making a pattern from material specifically used for pattern making which can be purchased.
I did this for each cushion, completing it before I tackled the next one. This project took me about 3 weeks to finish. It was a challenging job to be sure but I was very happy with the outcome and more importantly, so was my customer.
 |
| Seat Cushion Before |
 |
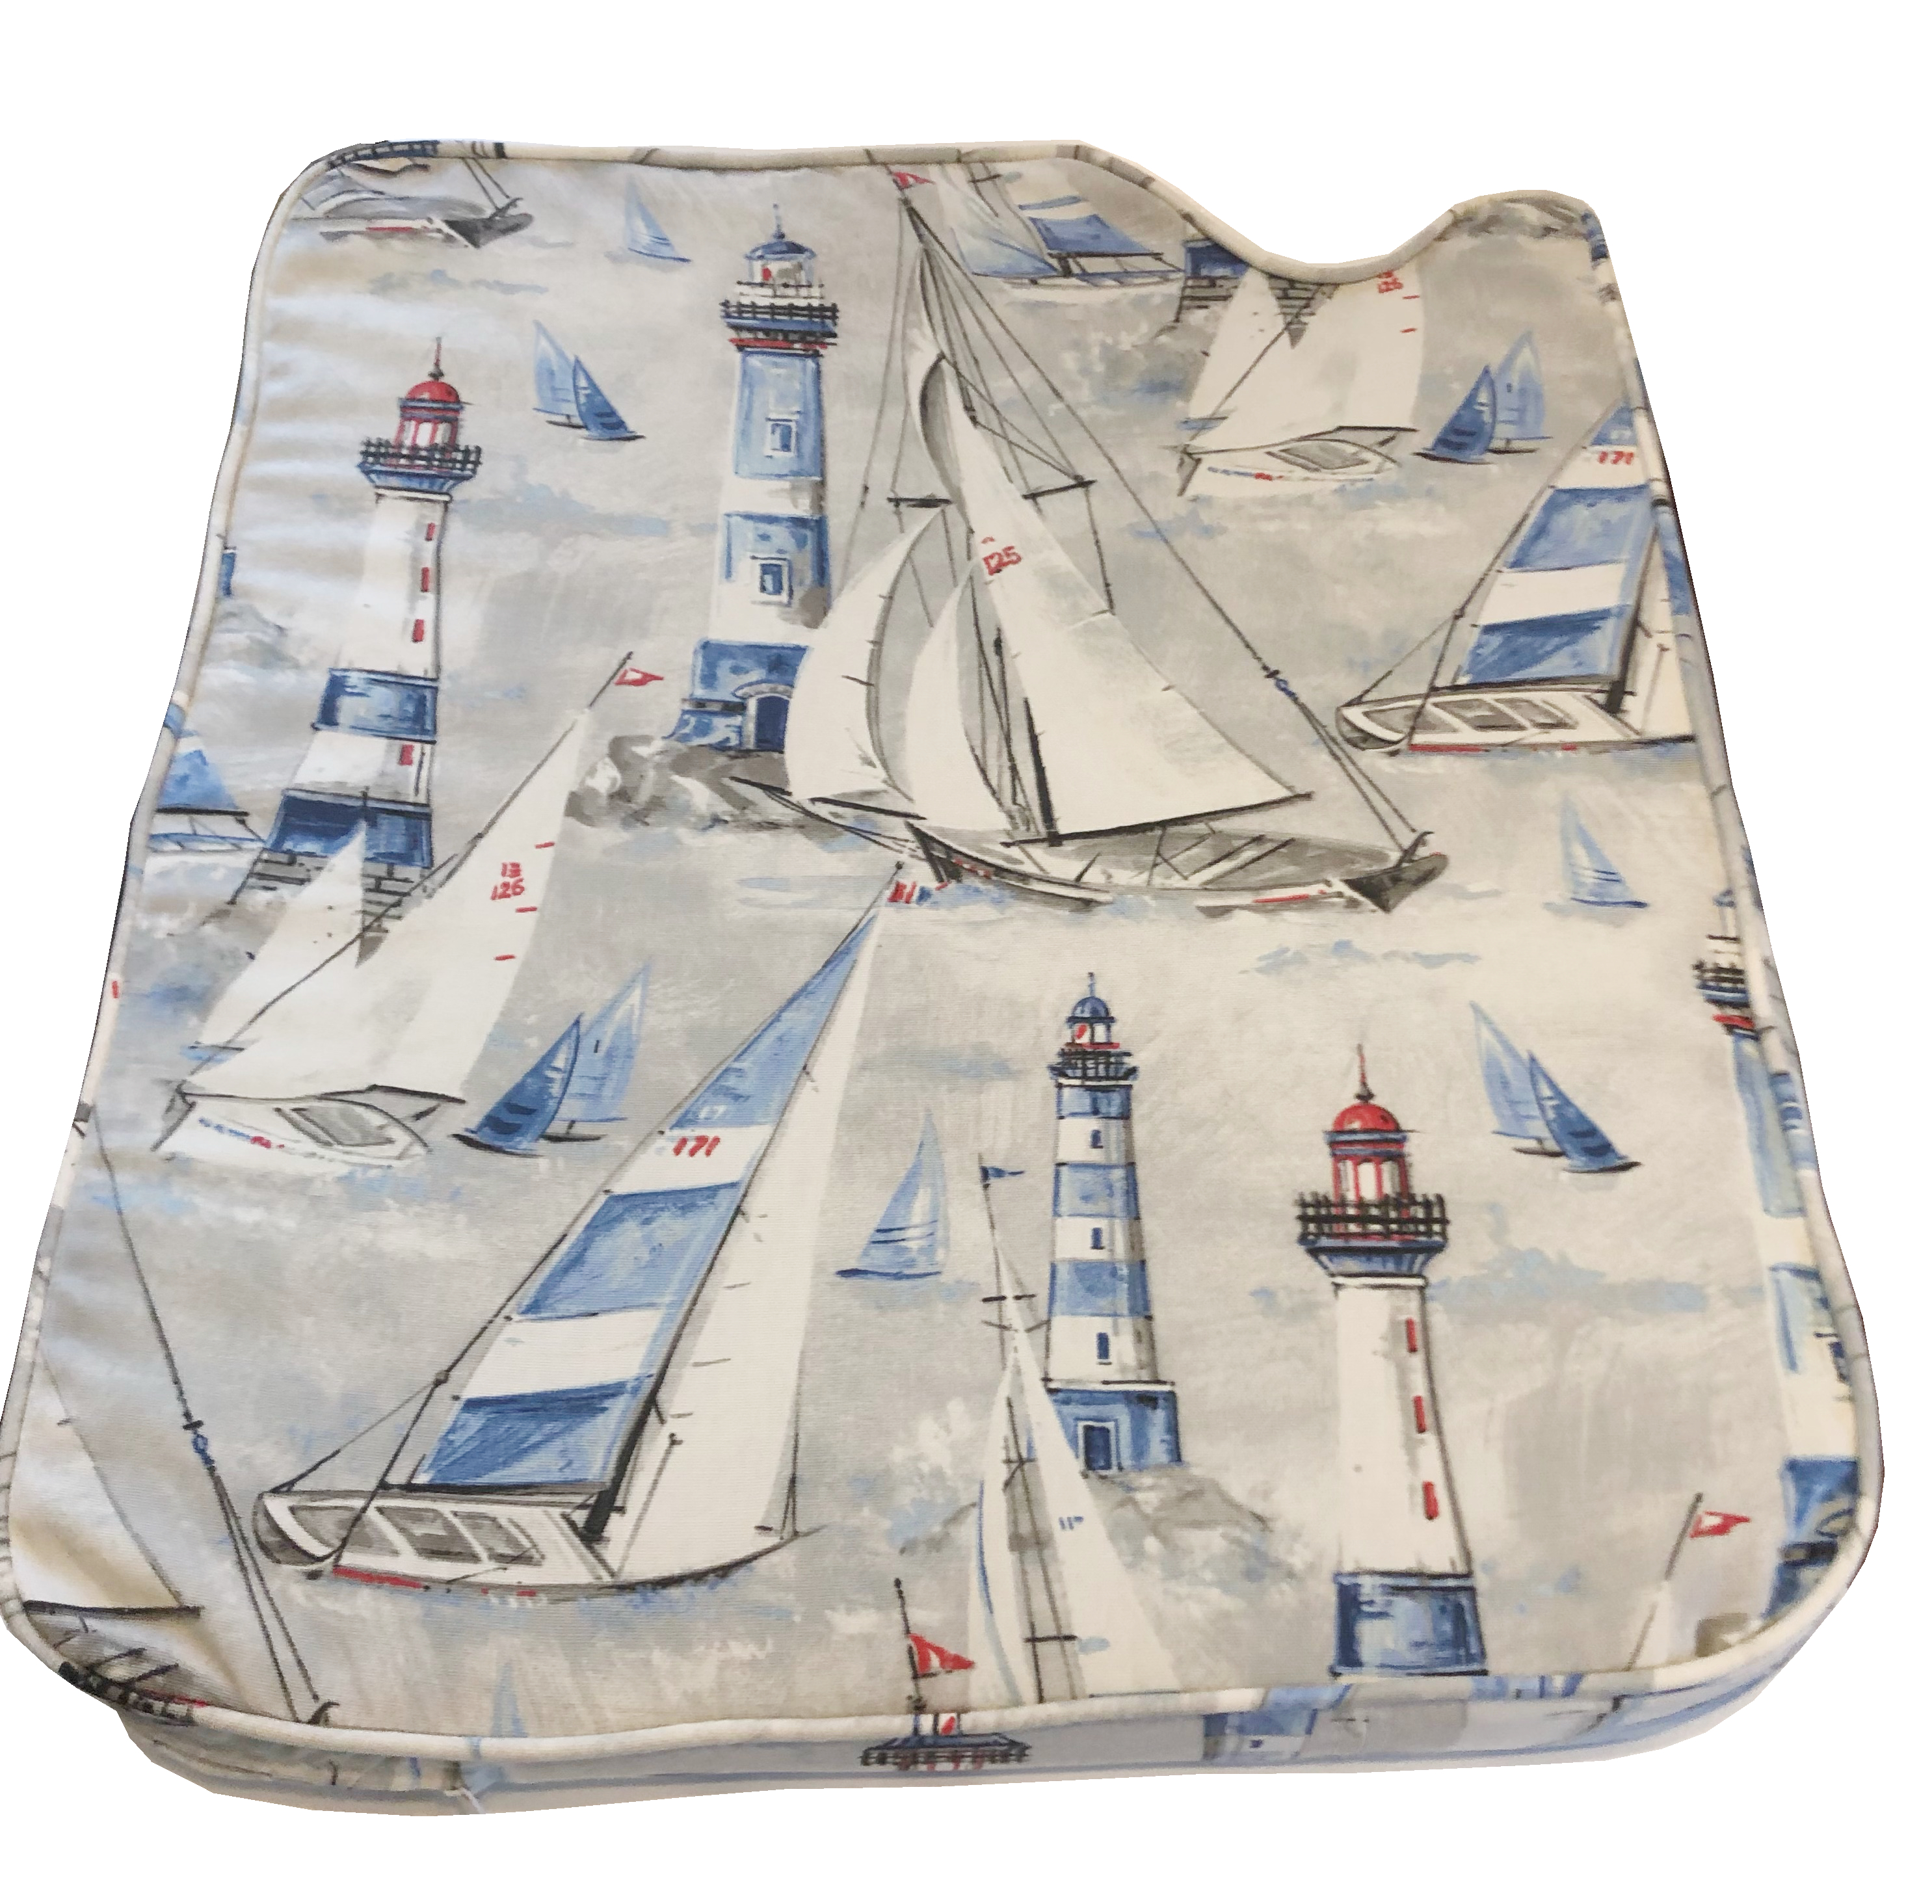
| Seat Cushion After |
The two cushions below were the one on the end of the corner area (shown above). The curve on this cushion went about a pole on the side of the boat, so this cushion had to be cut to accommodate this curve. This cushion required the foam to be replaced as it was moldy and quite worn. I use a combination of foam cutting tools to make these cuts, an essential part of working with foam.
 |
| Long Galley Cushion After |
 |
| Long Galley Cushion Before |
The long cushion was one of the more difficult cushions I made because it was 77” long and 15” on the narrow side and 24” on the wider side. This cushion was also angled on one end so that its shape is consistent with the natural curve of the boat. The smallest cushions were 17 x 12 and the larger ones varied from 77” x 15 x 24 to 56” x 24”.
The various sizes of these cushions required a lot of attention to detail as well as measuring many times. I also devised a foolproof way to make sure the pattern faced the right direction when cutting. I marked the original cushion with lots of black markers showing arrows to the top, bottom and zippered edge, which helped a great deal when the time came to put those pieces together. I then transferred these marks to the new fabric with indelible ink, that comes off with an iron or over a period of time on its own. These pens, called “Frixion," are one of my favorite tools for sewing!
By the time I got to the 15th and last cushion, it was a breeze, but I was ready for a break as it was quite the job. I’m so happy to have had the opportunity to add this to my skill set and afterward had gotten a few more cushion jobs (which aren’t posted here) because they were loose cushions with no “before” photos. It’s great when you learn the tricks as you continue to process of upholstery and sewing. It helps to serve you long into the future.