
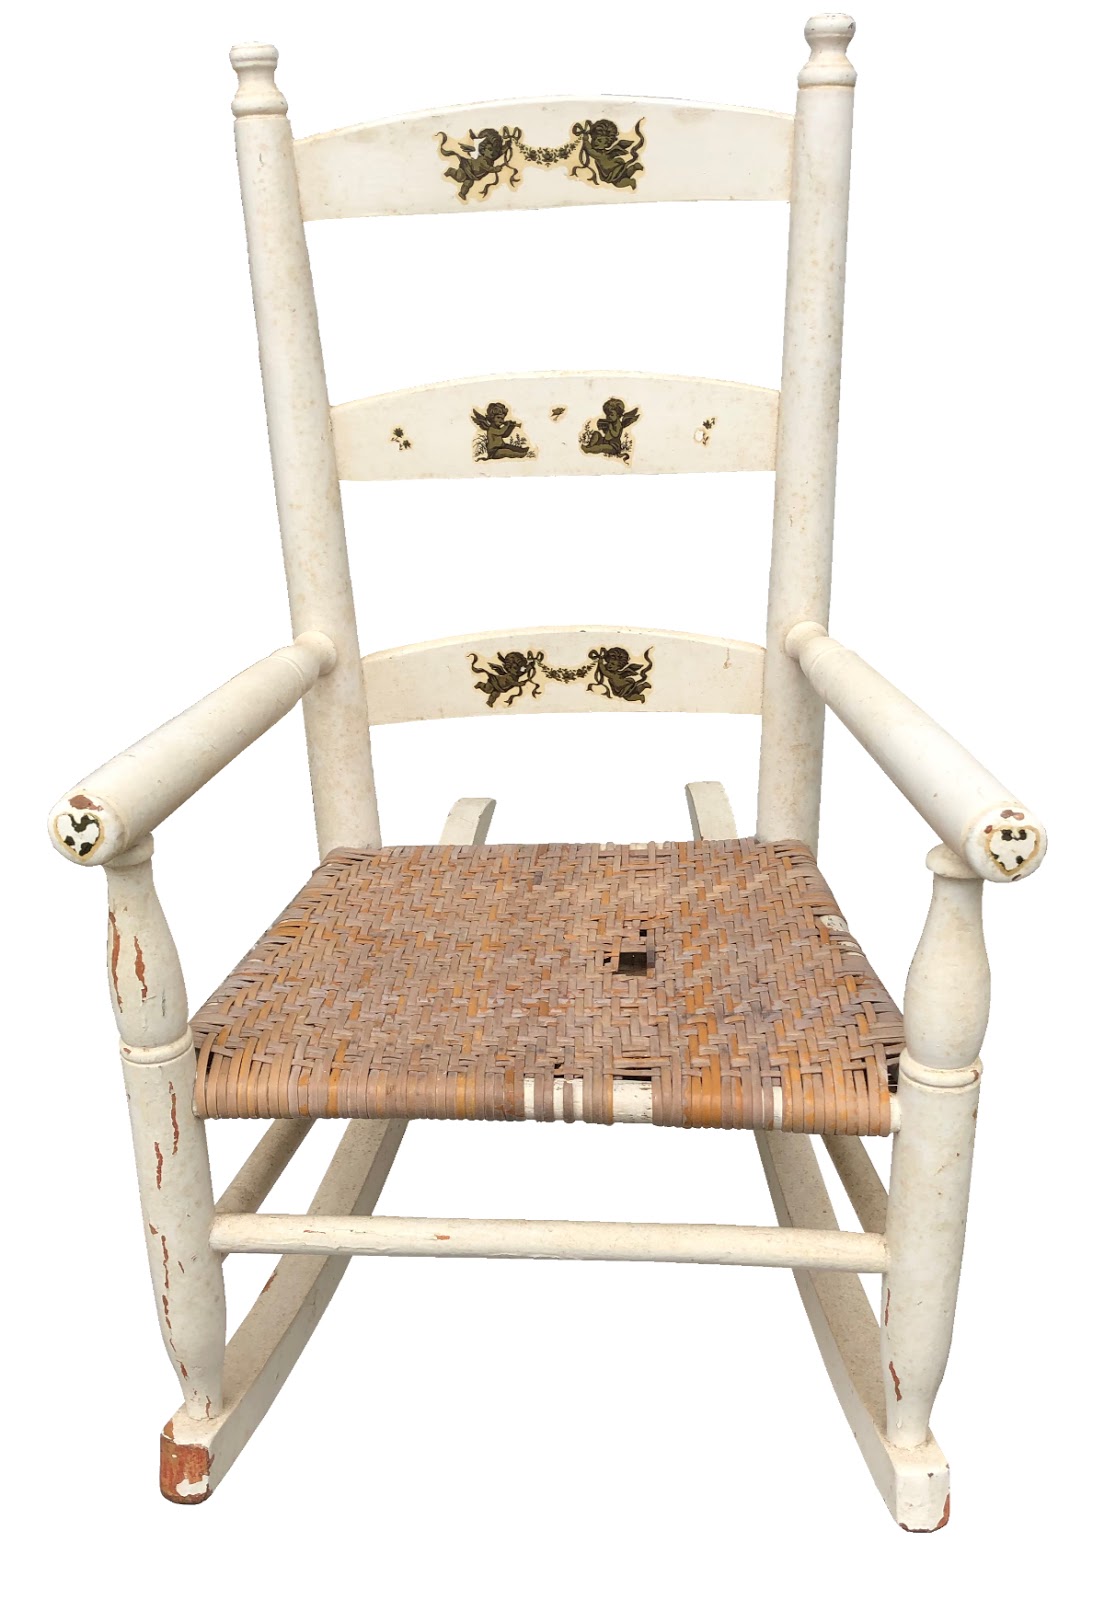
 |
| Rocking Chair Before |
 |
| Rocking Chair After |
This type of restoration job generally uses my personal arsenal of tools including many types of sanders, wood carving tools (which I used to scrape away hard-to-reach painted places), a small dremel tool with an assortment of miniature sanding discs and diamond drill bit heads that work extremely well for tiny projects such as this. Of course, my most useful tool, my hands.
Any type of stripping/sanding work requires a lot of hands-on use, but the smaller the project, the harder the hands work. This causes super dry fingertips, sore finger joints, along with cuts, scrapes and bruises; all par for the course. Thus are the “hazards” of furniture restoration. I use a product called “Ghost Glove,” which is a lotion you apply prior to doing any type of hands-on work. This “invisible” lotion protects your skin from drying out and makes it easier to wash off in the event you are a mechanic working on a greasy engine. It’s one of many little things that makes the job just a bit easier.
Anyway, back to the chair. You’d think a small project is a quick one, well think again. This little gem took an entire week to strip clean of the old paint. Every tiny crevice, dowel end, edge and other hard to reach places had to be completely free of paint residue, or it would be visible when applying the stain. After a week of stripping, I spent an afternoon sanding the chair thoroughly, using folded sandpaper to get into the edges and grooves. Finally it was ready to be stained! I used “gunstock” stain, as I had for a few other jobs. This is a lovely golden tan color that really brings out the highlights of the wood.
This chair was actually my third “bloodwood” chair. I had done two other ones, so I recognized the signature “bleeding” red at the chair’s joints. You can see my other bloodwood chairs by clicking on these links: https://finalefurniture.blogspot.com/2019/05/bloodwood-rocking-chair.html
https://finalefurniture.blogspot.com/2018/10/sturdy-cherry-chair.html
Since it had only one coat of white paint on it, I knew this red I saw was the wood itself. It actually took the stain very well and I was happy with the results. I used two coats of satin polyurethane to protect it, let it dry for two days then began the tedious process of weaving new cane into the seat. The previous seat had a herringbone style weave. I chose a “New England Style Porch” chair design, which was perfect for this size rocking chair. Once the caning was complete, this little rocking chair was complete, with a major transformation.


