|
| Chair After |
 |
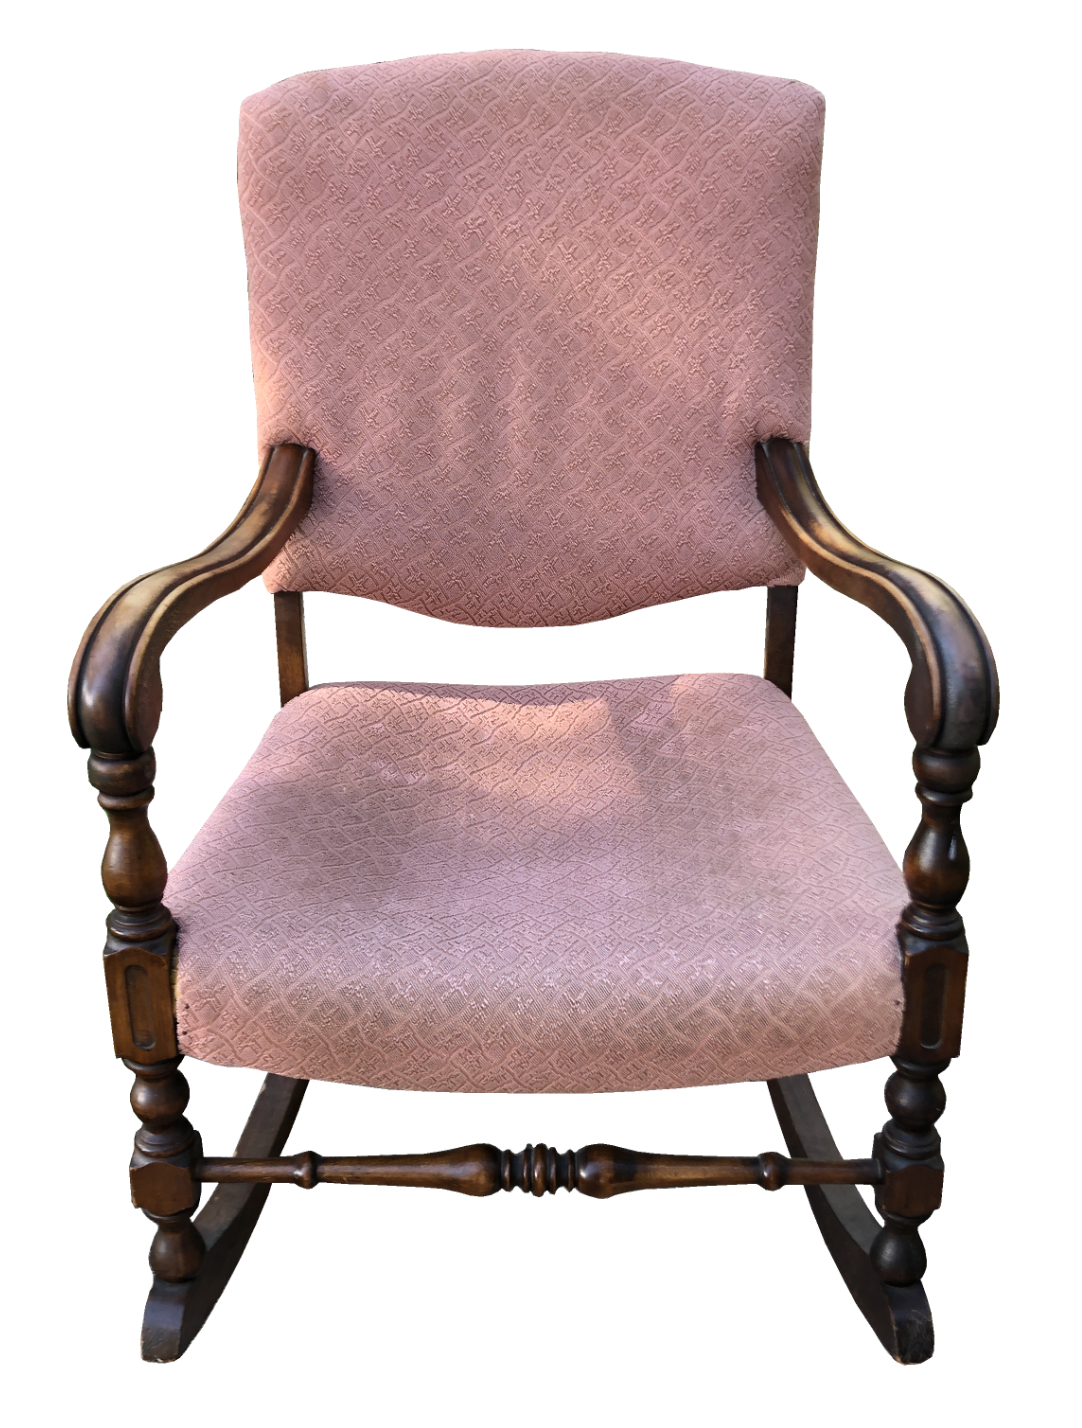
| Chair Before |
This set of four dining room chairs had outdated fabric, though it was still in pretty decent condition. The chairs were made in 1996, so the fabric was original. Not bad for 28 years old. However, my customer had wanted to update the material and chose a cream color, which looked very nice with the oak wood.
Luckily the wood needed only a little bit of cleaning and touch-up, but nothing else. It was in really great condition. When you take care of your furniture, it shows. It also shows if furniture has not been taken care, of or had been badly used or abused. Each piece tells its own story.
For these chairs I had to invest in a new, long-nose pneumatic stapler because the backrest area of the chairs' top and bottom areas were hard to reach with my regular stapler. The long nose stapler is something I had been wanting to purchase sooner or later because there have been times recently where having one would have been pretty handy. I also found out the the staples are a completely different type that I had been using. Once I got all the stapler/staples issues figured out, I could proceed with my project of working on these four chairs.
Upon first seeing these chairs, I was unaware how to remove the back as there were no visible screws, nails or other fasteners. Once I removed the seat, it was a matter of using a flat screwdriver and loosening the bottom and hammering it upward to "lift" the back right out and pull if away from the groove at the top that it was pushed into. Once the backrest was out, I had to remove all those staples. One aspect of furniture restoration and refinishing that is time-consuming and painful is removing the original staples. After a while my right shoulder gets pretty sore, so I try not to do them all at once.
Installing the new fabric was not too difficult as I wrapped it around the backrest and stapled the inside edge so that the staples couldn't been seen. The top and bottom were a bit trickier because of the way it had to be lifted up and into, then hammered back into its original groove at the top. It was essential to line it up perfectly and hammer it in without breaking or splitting the wood. I decided to work on one chair at a time, completing the backrest first and then the seats. Each seat received new foam because the old foam was very worn out and not supportive at all. I also topped off the seat with a bit of quilt batting.
Because of the pattern, I wanted to make sure it lined up at the back of the seat and the bottom of the backing so it looked like a continuous line of material. I accomplished this by putting the seat in position once the backrest was installed then actually installing a couple of screws from the seat's underside to make sure the seat would end up where it was supposed to. Once that was secured, I placed the fabric on the cushion and lined it up with the backrest.
I tacked the sides so that the fabric would stay in the right position, then proceeded to attach the seat fabric. It worked beautifully. After the material was secured, I finalized attaching it to the seats and finished off the seats' underside with chambray, the black fabric used as a dust cover in most chairs. For these type of chairs it serves as a finished look. The new fabric is very nice and updated as well as durable. I recommended my customer use Scotchguard to protect it from potential stains and she agreed.