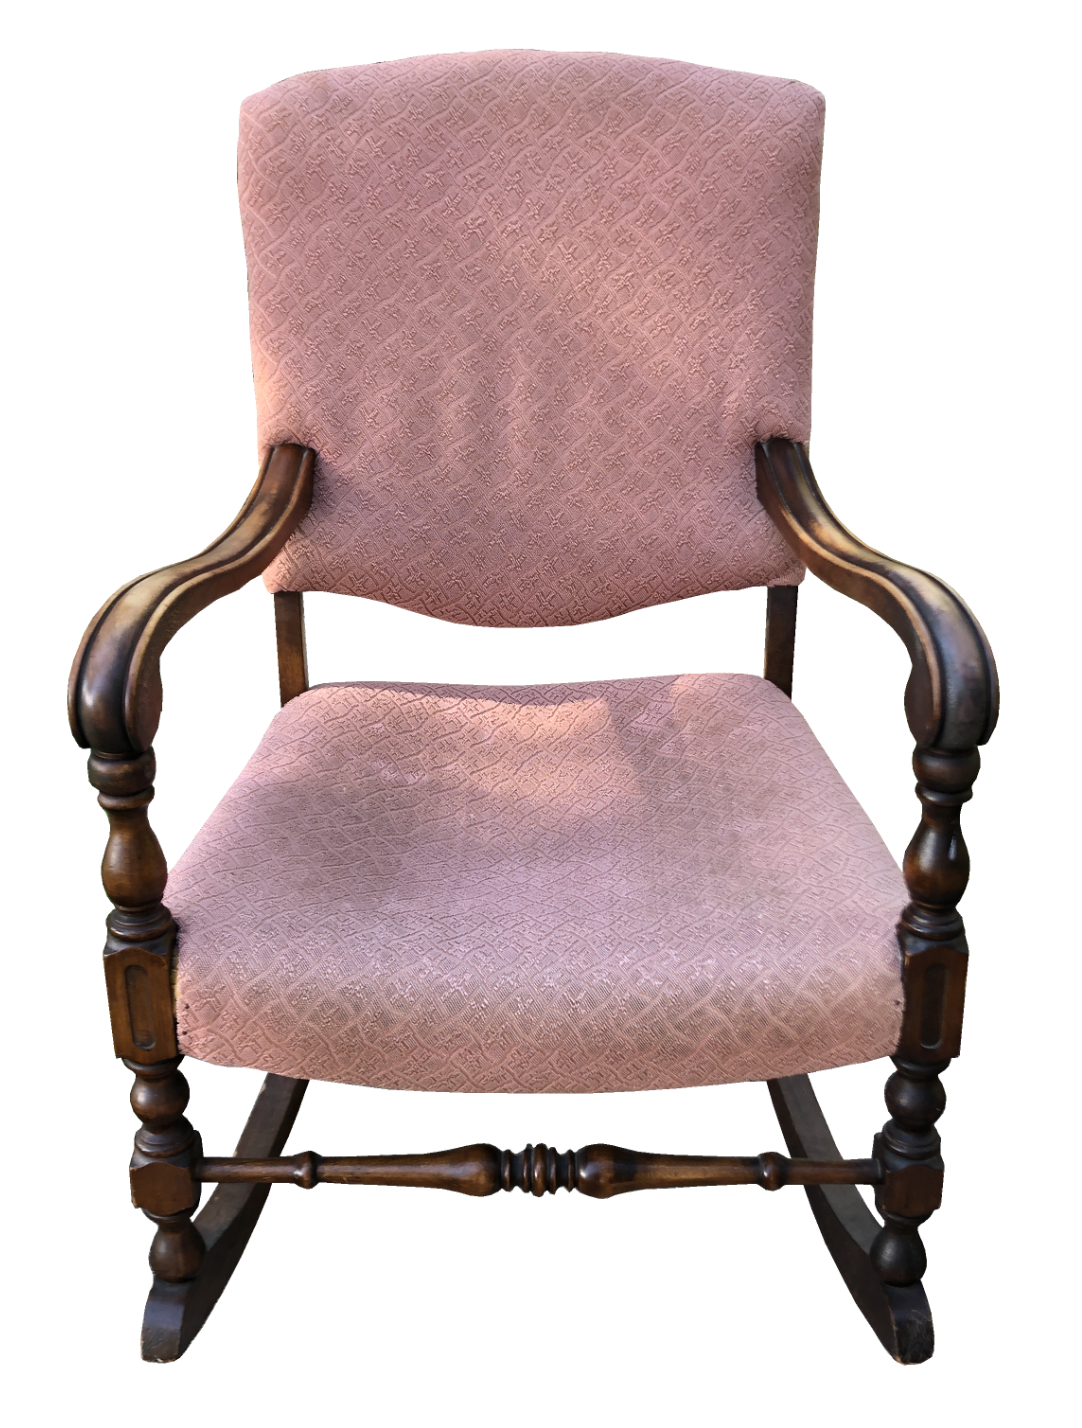
|
| Rocking Chair After |
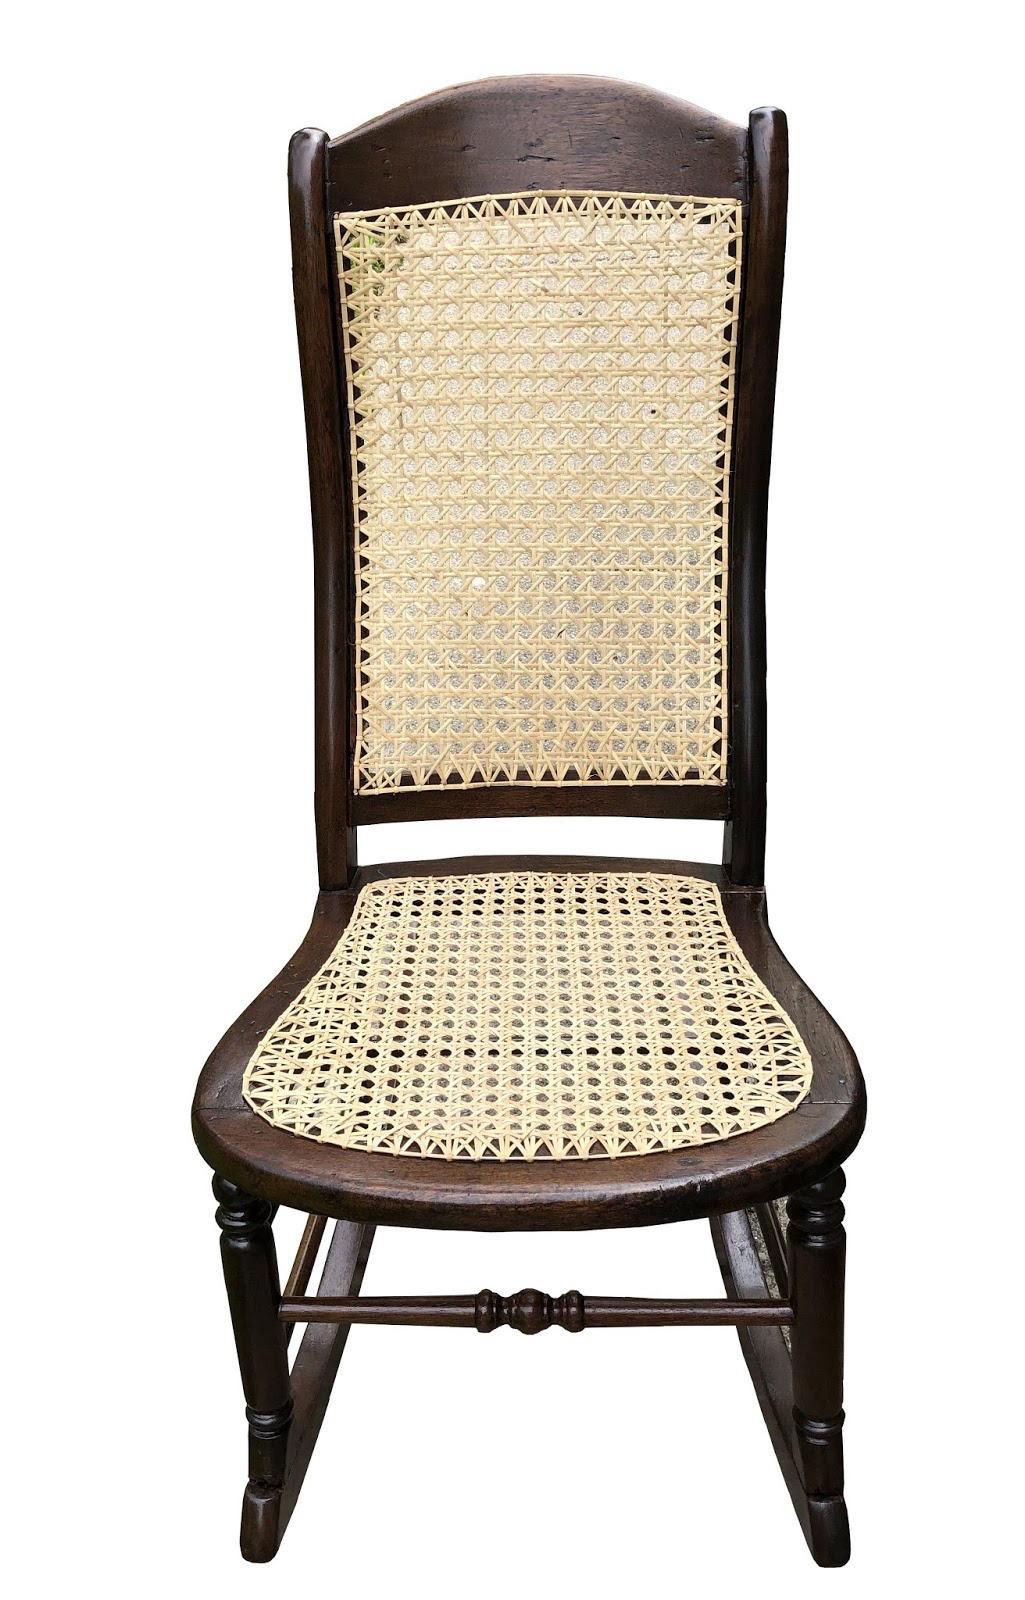
 |
| Rocking Chair Before |
Removing the old fabric is always time-consuming because there are plenty of staples. First I had to remove the upholstery tacks which had been used along with gimp as a trim on the front and back sides and bottom edge. Personally I don't care much for upholstery tacks, because as wood ages it becomes even harder and the tacks inevitably bend so much after you hammer them in, they shift and don't line up where you start. I prefer to use welt cording instead of tacks.
Once I had removed all the fabric, I tackled the seat area and removed the old burlap and worn out seat padding. The springs had come loose and were poking right through the chambray dust cover. Because they had come off the wood, they were quite tangled in the chambray and made the bottom fabric material challenging to remove. Finally, once everything was taken off I could access the springs to reattach them to the framework. Luckily they were in great condition as I like using the original springs when possible.
After the springs were reattached, I covered them with burlap, then laid one inch padding on top of the burlap. This was followed by two layers of dacron and a layer of raw cotton batting, which made for a cushy, crown-soft seat ready for fabric. My customer had selected a taupe/brown plush material with a pattern of alternating nap squares which created an attractive highlighted and low lighted effect.
With the seat finished, I moved started on the top of the chair. The original design had a welt cord at the neck level with a "pillow" for a headrest, so I recreated that look by sewing two sections of fabric together, adding a welt cord between them to replicate the original. I liked the detail of the welt cord in that area. After I attached the front, I moved on to the back, attaching it at the top with an invisible seam by using cardboard strip and staples, then flipping the material down and attaching it to the bottom of the chair. This made for a streamlined look. To finish off the chair, I used double welt cording for trim on the sides and continued on the back. This chair was unique because it had wheels only in the front. After completion, the chair looked great and will greet many generations to come.

Before & After