Showing posts with label details. Show all posts

Friday, August 10, 2018

Two-Tier Antique Mahogany Table


Table Before Repair
Table After Repair & Refinishing
This table came to me as you see in the photo on the right, with three legs that were broken, the center piece which held them together was missing on two out of the three legs.

These missing sections had to be reconstructed using a template, traced from the legs themselves. This was an lovely antique two-tier table commonly seen during the 1920's and 1930s. Many people remember these tables in their grandparents homes, so they now hold a special place in our hearts along with all those memories. Commonly used for knick-knacks, plants, collectibles and many other

Tuesday, June 19, 2018

Antique Cedar Chest Revival

Cedar Chest After Refinishing

One of my favorite projects to refinish and restore is a beautiful cedar chest such as this lovely antique. The best part of this restoration was that it had retained all the original details such as the four vertical rows of rope braiding that embellished the front as well as the decorative trim surrounding the lid and another row of trim along the bottom. The chest was in pretty good shape overall, with surface scratches marring its top. Otherwise, it was in excellent condition.

Unlike other cedar chests I've done, this one had separate ball type feet which lifted it off the ground, allowing for easy relocating while working on it. Unfortunately, all that detail requires a great deal of time to remove the old finishes which requires a lot of time, patience and the right tools.
Cedar Chest Before Refinishing 

Never underestimate the power of an old toothbrush! Yes indeed a toothbrush is a key element to removing all that yucky, sticky residue that clings to the wood after you brush on the nasty stripper.

A good stripper will burn your skin on contact, so wearing gloves is essential while stripping. (I also keep a clean bucket of water on hand just in case I need to stick my hand into it. Ah, the burn!) A toothbrush, wood carving tools and a good brass brush are a great combination of tools to remove gooey varnish from all those nooks and crannies that would otherwise be impossible to reach. The ultimate goal is to reveal bare wood, that once sanded, is ready for staining. For this lovely cedar chest I used red mahogany stain and semi-gloss polyurethane, which brought out the natural beauty of the wood, showing its grain.
Cedar Chest After

Cedar Chest Before
It never ceases to amaze me just how awesome the wood looks once all the old finishes are removed and the lovely wood beneath is revealed. This was definitely one of my favorite cedar chests to work on because it had all those lovely details, which shows off its unique qualities and of course, the lovely craftsmanship that went into making it.

For other cedar chests I've refinished, you can click on these links:
http://finalefurniture.blogspot.com/2016/08/1948-lane-cedar-chest_22.html
http://finalefurniture.blogspot.com/2017/04/decorative-walnut-antique-cedar-chest.html
http://finalefurniture.blogspot.com/2017/05/solid-cedar-chest-with-copper-accents.html
http://finalefurniture.blogspot.com/2015/04/elegant-cedar-chest-revival.html
http://finalefurniture.blogspot.com/2013/12/1945-lane-waterfall-cedar-chest.html
http://finalefurniture.blogspot.com/2012/06/my-waterfall-cedar-chest.html
http://finalefurniture.blogspot.com/2014/10/solid-cedar-chest.html


Tuesday, July 23, 2013

Curio Cabinet/Desk

Curio/Desk Before
This may not be an antique, but it is certainly a unique item of furniture.
Curio/Desk After
Lucky for me, it didn't require a great deal of work as it was in pretty good condition when I acquired it. I replaced the makeshift wooden pegs (made out of dowels) which held the glass shelves, with metal shelf pegs. Much sturdier. I then glued soft felt to each peg to protect the glass shelves. I thought it was a unique piece of furniture, because on one side you can display collectibles and the other side was a pull down desk surface which instantly turned this flexible fine piece of furniture into convenient place to compose a letter, pay bills or use a small laptop computer to do your homework (if you're a student.)

Friday, August 31, 2012

Bavarian Hand-Carved Table


Bavarian Before
This table came to me as a referral from a woman who'd
Bavarian After
purchased the "Petite China Cabinet" from me. She told her friend about my work and soon, her friend called me and asked me if I could refinish a table for her. She then brought over this very challenging project; a table that looks like something you'd see in Frankenmuth. To those of you who live in Michigan, you've probably been to, or at least heard of "Frankenmuth," known as "Little Bavaria." The two restaurants, "Zehnders" and "The Bavarian Inn" have famous chicken dinners that lure thousands of visitors daily, filling up on the excellent German cuisine and enjoying the ambiance of "Little Bavaria," shops and all. Anyway (sorry for getting off-track) this table reminded me of something you'd see at The Bavarian Inn because of its intricately hand-carved legs. It also had a removable glass top, which was interesting, since one of the items I'd sold to the other woman who also bought my china cabinet was my oval table which too had a removable glass top which had doubled as a serving tray. To see another table with a glass top was really amazing. While the glass on this table was in pretty good shape, the the frame was scratched up. In order to make this look pretty again, I had to completely hand-sand the frame and re-stain it, then spray it with semi-gloss polyurethane. The results were amazing! I can't believe it's the same scratched frame she brought over.
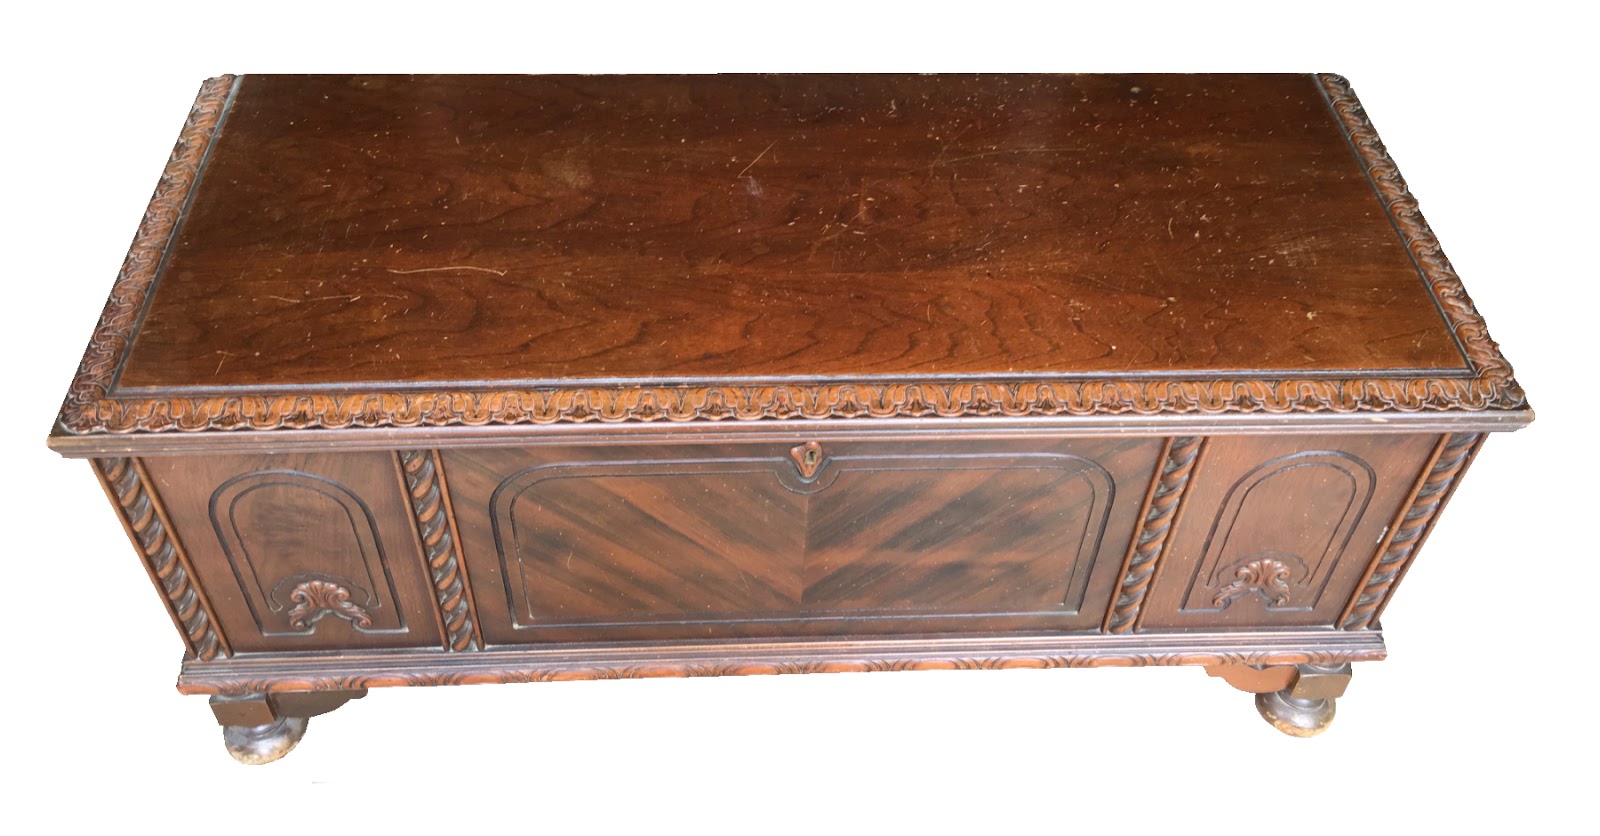
Top Before
The table was another story entirely. It was pretty scratched up,
Top After
top and legs, but again, I was up for the challenge and began the tedious task of hand-sanding, a time-consuming job to be sure, but the only way to get the results to make this piece glow again. Once I had completed sanding, I carefully applied a walnut stain to the legs and cherry stain to the top. This table had at least three different types of wood. The top veneer sported a burled maple, which was gorgeous in addition to smaller bits of birch.

The end result was a table that was void of scratches that will last a long time. What an outstanding piece this turned out to be! So you be the judge: Bavarian or not?