|
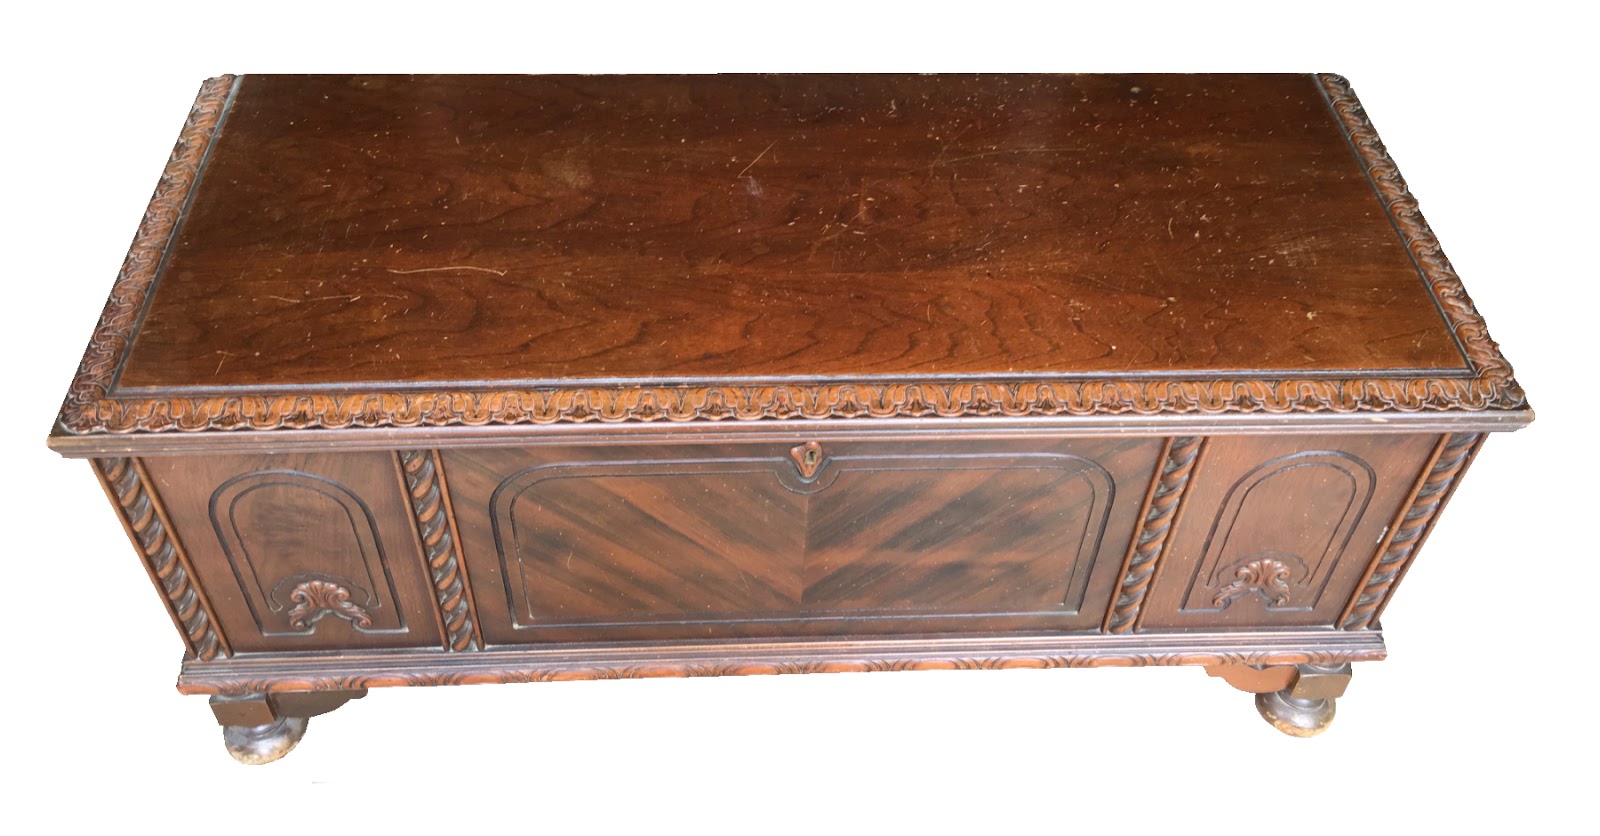
| Cedar Chest After Refinishing |
One of my favorite projects to refinish and restore is a beautiful cedar chest such as this lovely antique. The best part of this restoration was that it had retained all the original details such as the four vertical rows of rope braiding that embellished the front as well as the decorative trim surrounding the lid and another row of trim along the bottom. The chest was in pretty good shape overall, with surface scratches marring its top. Otherwise, it was in excellent condition.
Unlike other cedar chests I've done, this one had separate ball type feet which lifted it off the ground, allowing for easy relocating while working on it. Unfortunately, all that detail requires a great deal of time to remove the old finishes which requires a lot of time, patience and the right tools.
 |
| Cedar Chest Before Refinishing |
Never underestimate the power of an old toothbrush! Yes indeed a toothbrush is a key element to removing all that yucky, sticky residue that clings to the wood after you brush on the nasty stripper.
A good stripper will burn your skin on contact, so wearing gloves is essential while stripping. (I also keep a clean bucket of water on hand just in case I need to stick my hand into it. Ah, the burn!) A toothbrush, wood carving tools and a good brass brush are a great combination of tools to remove gooey varnish from all those nooks and crannies that would otherwise be impossible to reach. The ultimate goal is to reveal bare wood, that once sanded, is ready for staining. For this lovely cedar chest I used red mahogany stain and semi-gloss polyurethane, which brought out the natural beauty of the wood, showing its grain.
 |
| Cedar Chest After |
 |
| Cedar Chest Before |
It never ceases to amaze me just how awesome the wood looks once all the old finishes are removed and the lovely wood beneath is revealed. This was definitely one of my favorite cedar chests to work on because it had all those lovely details, which shows off its unique qualities and of course, the lovely craftsmanship that went into making it.
For other cedar chests I've refinished, you can click on these links:
http://finalefurniture.blogspot.com/2016/08/1948-lane-cedar-chest_22.html
http://finalefurniture.blogspot.com/2017/04/decorative-walnut-antique-cedar-chest.html
http://finalefurniture.blogspot.com/2017/05/solid-cedar-chest-with-copper-accents.html
http://finalefurniture.blogspot.com/2015/04/elegant-cedar-chest-revival.html
http://finalefurniture.blogspot.com/2013/12/1945-lane-waterfall-cedar-chest.html
http://finalefurniture.blogspot.com/2012/06/my-waterfall-cedar-chest.html
http://finalefurniture.blogspot.com/2014/10/solid-cedar-chest.html