|
| Buffet Before |
 |
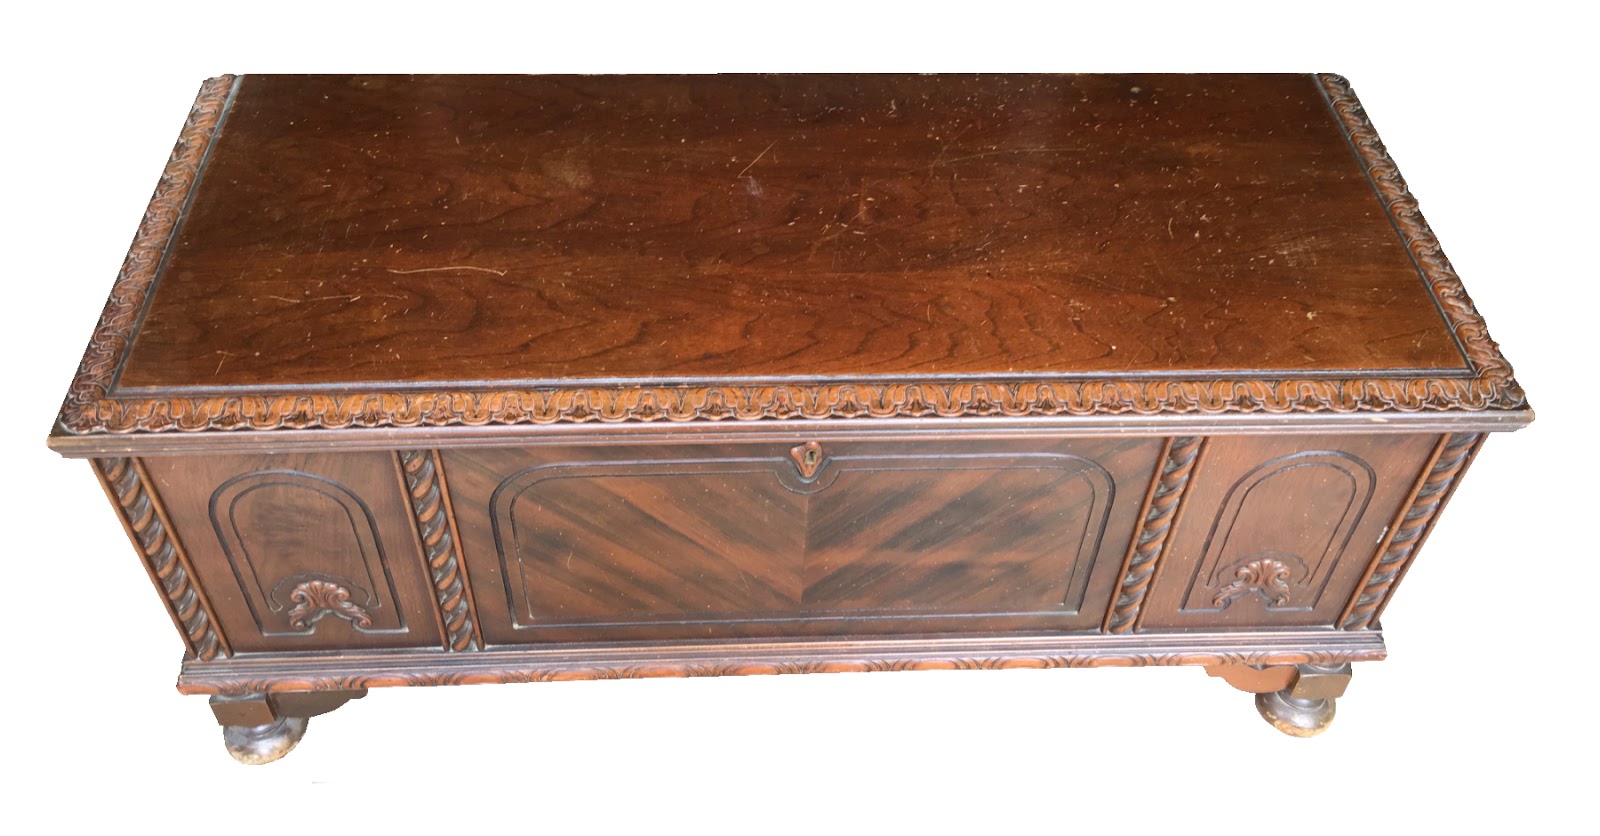
| Buffet After |
One of my personal favorite refinishing woods is mahogany. Being a darker wood with a natural reddish tone, when refinished the woodgrain is more apparent, making it look fabulous. When furniture comes out of a manufacturing plant, much of it hides the natural grain of the wood. Unlike refinishing, furniture right from the factory woodgrain isn’t as prominent as it is upon stripping.
This buffet was a good, sturdy piece that had seen some wear, but overall was in great shape. There were minor scratches on the top, a few on the front legs and sides, but nothing that stripping and sanding can’t remove. Surface scratches are almost always removed when sanding, however, if the scratch is a gouge, sanding can only do so much. Especially with veneer furniture. If you sand too deeply, you will remove the veneer and go too far into the wood beneath (big problem!) That’s why we love working with antiques; the wood, even if it has veneer, is thicker and much more durable, thus better to work with on the refinishing end.
That being said, the finishing product looks fabulous. Once it was stained and protected with satin polyurethane, Jim polished the original hardware, a Federal Style, and once again the piece looked like new (if not better!) I love the way hardware makes a piece truly stand out. Over time the brass will oxidize, faded and dull. But polished, it shines and adds beauty and freshness to any piece of furniture.
The beauty of working with a piece such as this mahogany buffet is that you have so many color choices with stain. Our customer chose “Carrington,” by Varithane. It’s a rich, warm color with no overly red tones. Mahogany can accept most stains, but seldom can you go a lot lighter with it because the wood is naturally reddish and darker, like walnut. A good tip to keep in mind when choosing stain is the wood itself.
Darker woods usually cannot go much lighter than their natural color, but lighter wood, such as maple, birch or pine can accept both light and dark colors of stain. An example is if you were to put the same color stain on five different types of wood, each one would look different. Some wood has more grain than other wood, such as oak compared to birch. There are also different types of the same wood; tiger oak, tiger maple, birds eye maple, and so many more. The choices are endless as are the stain colors, so it’s not difficult to narrow down which stain is the right one for you.
Luckily we have plenty of experience in choosing the right stain for your project (unless you are 100% sure what you want). But no matter, the finished furniture item will always be the one you love the most.