Wednesday, October 31, 2018

Old Rocker Makeover

Chair Before
Chair After

This rocker had a great structure, but the fabric was shot and needed to be replaced. It had also been used as a scratching post for a couple of cats, so the fabric on the backside was pretty torn up. My customer had asked for the chair to be refinished in addition to replacing the old, worn and torn fabric with fabric she had left over from a previous reupholstering job I had done for her dining room chairs. (See link below).
http://finalefurniture.blogspot.com/2018/06/french-dining-chairs-reupholstered.html

After removing the old fabric, as I had suspected, the chair had been stuffed with horsehair on the

Thursday, October 11, 2018

Old Toy Chest Makeover

Toy Chest Before
Toy Chest After

Every so often I get a piece of furniture that is unique, completely different from other pieces I normally get such as tables and chairs. This piece was one of those interesting furniture items that I love because I can really feel my creative juices flowing at the prospect of making it look great.

An older gentleman and his wife who reside here in Marine City brought this to me to be restored. He told me it was used as a toy chest in Hamtramck and had bought it for his grandson. This man was a retired antiques dealer who has traveled across the country (in an RV), buying and selling antiques. He saw this unique piece and felt compelled to buy it for $75.00, but knew it needed more work so he brought it to me. I was thrilled!

Country French Table

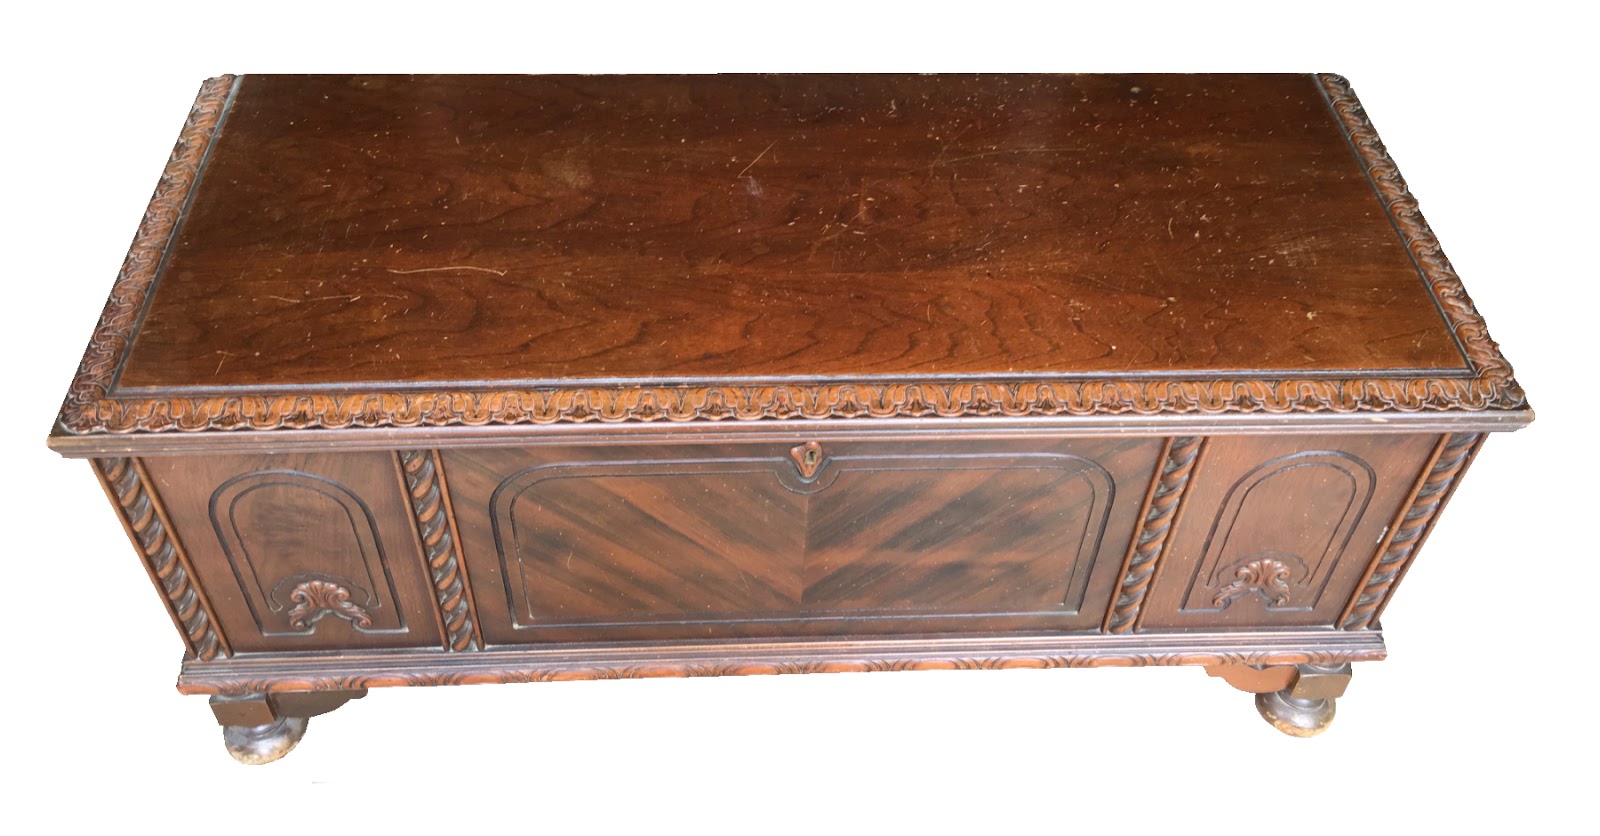
Table Before Refinishing
Table After Refinishing

Tables are probably the most common refinishing jobs we acquire and most of the time we refinish and stain the entire table. Sometimes we paint tables. For this table, we combined both techniques, using stain and paint to create a harmonious new look, a perfect facelift.

This table had been stored in a barn for many years until someone had started working on the top, stripping off most of the paint. The base, however, still had a few layers of paint on it. For this table there were at least two, maybe three coats of paint, which required a great deal of time to remove. Wood carving tools were used to get into the "nooks and crannies" of the surface as it was quite porous, therefore it had absorbed all the original white paint. Since the top would be stained, it was necessary to remove every spec of paint. If you don't remove all the paint, it will still be visible when you apply stain, especially dark stain as in this table, which was stained dark walnut.

Since the original casters were well worn, we replaced them with new black rubber casters. The sides and base were painted antique white, which completed the "Country French" look the customer had wanted to achieve. This table had great bones and needed a bit of creative elbow grease to bring it back to life. Mission accomplished!

We had also done a dining room set using the same technique, combining paint and stain in the same way. Check out this blog post to see that: https://finalefurniture.blogspot.com/2017/02/from-amish-to-amazing.html

Wednesday, October 10, 2018

Bloodwood Chair

Chair Before Refinishing
Chair After Refinishing

Strong, sturdy and comfortable, this chair was somewhat of a surprise to my customer who thought it was an oak chair. After stripping, I discovered that it was not oak, but actually made from exotic bloodwood, found in Brazil and Australia. This wood is unique in that when the tree that it comes from is cut, you can see red “blood” dripping on the cut piece, hence the name. It is a hardwood with lots of color and movement. In addition to the run that runs through this wood, there are also yellow and gold shades, which complement the luscious red tones. It’s a gorgeous chair to be sure.
The stripping process revealed a lot of red in the wood, which had already been seeping through the old, worn surfaces, especially around the arms.

With the natural red tones of this chair, golden oak stain which was what my customer had originally requested, would not have worked. I opted for red mahogany, which not only brought out the chair's natural color, but worked well with the varied tones which gave the chair the exotic look that it deserved.

After using the red mahogany stain, I finished it with two coats of semi-gloss polyurethane so that this chair will last for many years to come.

Update as of May 12, 2019: I just finished the “sister” chair for this one, except it was a rocking chair. You can read about it here: http://finalefurniture.blogspot.com/2019/05/bloodwood-rocking-chair.html

Antique Spindle Table

Antique Spindle Table Before
Antique Spindle Table After

In restoration, spindles are simply not our favorite things to refinish for obvious reasons; they are a LOT of work. This table, however, required only a sand "touch up," for the legs. Only the top was stripped and sanded down to bare wood, then stained with golden pecan stain and finished off with three coats of semi-gloss polyurethane.

The legs were lightly sanded and touched up with walnut stain, since they were originally made from walnut, so keeping the stain original was the right choice. Likely this table dates back to the early twentieth century, or late nineteenth century judging by its design and the many spindles used to create it. You can usually spot an older piece of furniture by the screws, how it it assembled and the way the wood is connected.

There are other telltale signs, such as the natural patina of the wood, which as it ages, can become dull, the finish almost completely gone as was the case with this table. This is a plus because it makes the tedious job of sanding less time consuming than removing all that old finish which can take days. All in all this little table looked completely different once the top was refinished and the legs were refreshed with a bit of stain and new polyurethane.

This table had a lovely burled maple with a center point pattern. This designed is achieved by cutting the tree section in quarters, then matching the four sections so they meet in the center to create a unique and harmonious, gorgeous table top. Never doubt the value that refinishing an antique can bring to your old furniture. If you own it, you already have the value in the furniture. It's always worth saving a piece such as this.

Thursday, September 20, 2018

Spindle Chairs, Oh My!

Spindle Captain Chair
Before Refinishing
Spindle Captain Chair
After Refinishing
I'll be brutally honest. I absolutely do not like to refinish anything with spindles. Simply because spindles require a great deal of time due to their shape and amount of detail. When it comes to chairs, that translates into many, many hours of tediously time-consuming work. There is just no way to do it quickly. Stripping just one chair can take up to a week and that's if if you work on it daily.

For this set of chairs (two captain, two regular), the entire refinishing process took several weeks, because there were so many spindles on the top and bottom of each chair.

Monday, August 13, 2018

Bar Stool Gets New Upholstery

Bar Stool Before

Bar Stool After
This bar stool was in desperate need of new fabric, otherwise it had great bones. The fabric was circa 1980 and had seen better days. Ripped on the seat it needed replacing.

The wood was teak as it was originally used on a boat. Still in great condition and sturdy, this heavy chair only needed new an updated look.

In order to reupholster the seat, I removed the arms and flipped the chair upside down to remove the staples which held the old, outdated and very stiff fabric in place. The foam was yellowed, but otherwise still usable. I decided to use the old fabric as a template, which needed to be taken apart so I could design a new seat with the existing fabric to get the right measurements, which is essential to get a good fit. It was much easier than I thought it would be and I was satisfied with the way the new fabric hugged the seat perfectly.

Friday, August 10, 2018

Two-Tier Antique Mahogany Table


Table Before Repair
Table After Repair & Refinishing
This table came to me as you see in the photo on the right, with three legs that were broken, the center piece which held them together was missing on two out of the three legs.

These missing sections had to be reconstructed using a template, traced from the legs themselves. This was an lovely antique two-tier table commonly seen during the 1920's and 1930s. Many people remember these tables in their grandparents homes, so they now hold a special place in our hearts along with all those memories. Commonly used for knick-knacks, plants, collectibles and many other

Tuesday, August 7, 2018

Tiny Rocking Chair

Rocking Chair Before

Chairs are the most commonly restored and refinished items that we receive. Chairs come in many styles, sizes, shapes and are made of too many types of wood to list, but they have one thing in common; they are not easy to refinish due to the many surfaces they tend to have. This tiny rocking chair once belonged to a little girl who has since grown up and wanted to preserve the many memories she likely had while enjoying the time she spent in this rocking chair.

Rocking Chair After
She may have sat by a window and enjoyed a Nancy Drew mystery novel as she rocked in time to the suspenseful mystery unfolding before her. Perhaps she stacked her stuffed animals on this chair to "keep it company" while she was at school. No matter how she used this little gem, likely she enjoyed it as a child and now as an adult, would like to see her own children make their own memories. This was a generational rocking chair meant to be passed down. As it where, the rocking chair had a couple of broken spindles in the center of the back. In fact, the entire chair came apart upon closer inspection, so repairing and gluing the broken spindles in place was the first thing that had to be done.

Tuesday, June 19, 2018

French Dining Chairs Reupholstered

Armchair Before
If you have ever wondered why reupholstering a chair is costly, this is why. It's a LOT of work! Today I finished working on six dining room chairs which included two French armchairs and four regular chairs with caning for the back. The French armchairs had a padded back which was open (so the fabric was actually on front and back) as well as the seat. I was uncertain exactly how the fabric was attached to the chair, as there were no nails or staples visible. The reason for that was that the staples were hidden in a 1/2" deep groove, which was created with a router so the welting could be pushed into it.

Antique Cedar Chest Revival

Cedar Chest After Refinishing

One of my favorite projects to refinish and restore is a beautiful cedar chest such as this lovely antique. The best part of this restoration was that it had retained all the original details such as the four vertical rows of rope braiding that embellished the front as well as the decorative trim surrounding the lid and another row of trim along the bottom. The chest was in pretty good shape overall, with surface scratches marring its top. Otherwise, it was in excellent condition.

Unlike other cedar chests I've done, this one had separate ball type feet which lifted it off the ground, allowing for easy relocating while working on it. Unfortunately, all that detail requires a great deal of time to remove the old finishes which requires a lot of time, patience and the right tools.
Cedar Chest Before Refinishing 

Never underestimate the power of an old toothbrush! Yes indeed a toothbrush is a key element to removing all that yucky, sticky residue that clings to the wood after you brush on the nasty stripper.

A good stripper will burn your skin on contact, so wearing gloves is essential while stripping. (I also keep a clean bucket of water on hand just in case I need to stick my hand into it. Ah, the burn!) A toothbrush, wood carving tools and a good brass brush are a great combination of tools to remove gooey varnish from all those nooks and crannies that would otherwise be impossible to reach. The ultimate goal is to reveal bare wood, that once sanded, is ready for staining. For this lovely cedar chest I used red mahogany stain and semi-gloss polyurethane, which brought out the natural beauty of the wood, showing its grain.
Cedar Chest After

Cedar Chest Before
It never ceases to amaze me just how awesome the wood looks once all the old finishes are removed and the lovely wood beneath is revealed. This was definitely one of my favorite cedar chests to work on because it had all those lovely details, which shows off its unique qualities and of course, the lovely craftsmanship that went into making it.

For other cedar chests I've refinished, you can click on these links:
http://finalefurniture.blogspot.com/2016/08/1948-lane-cedar-chest_22.html
http://finalefurniture.blogspot.com/2017/04/decorative-walnut-antique-cedar-chest.html
http://finalefurniture.blogspot.com/2017/05/solid-cedar-chest-with-copper-accents.html
http://finalefurniture.blogspot.com/2015/04/elegant-cedar-chest-revival.html
http://finalefurniture.blogspot.com/2013/12/1945-lane-waterfall-cedar-chest.html
http://finalefurniture.blogspot.com/2012/06/my-waterfall-cedar-chest.html
http://finalefurniture.blogspot.com/2014/10/solid-cedar-chest.html


Sunday, June 17, 2018

Beautiful Antique Buffet Refinished

Buffet Before Refinishing
This was one of my favorite pieces to restore. It had been in the family for years belonging to a beloved grandmother who had passed on, so I really wanted to do it justice. Other than a few minor surface scratches on the top, the rest of this buffet was in amazing condition with everything still in tact. It was a fairly large piece, tricky to load in the truck.

Buffet After Refinishing
I love working on mahogany and cherry wood. The top of this
buffet was cherry while the rest of it was solid mahogany. The four front legs had detailed spindles which required a great deal of time and effort to strip thoroughly. I removed the back upper edge so the veneer that had been peeling away could be glued back in place before it was securely glued into the original holes.

Two front drawers and two cabinets, one on each side, gave this buffet a nice, balanced look. I chose to use dark walnut stain with satin polyurethane after everything was stripped and sanded to bare wood, always the first step of any refinishing project. The top received four coats of polyurethane for extra protection and durability.

Brand new hardware made all of our hard work "pop" and looked beautiful with the newly refinished surface. And boy, did it ever look great once it was all done.